Creating a Bulleted or Numbered List
There are two ways to create a Bulleted or Numbered List
- Manually
- Enter "*" (asterisk) to start a bulleted list or "1." to start a numbered list.
- Press the Spacebar or Tab
- Enter the first line of text and press the Enter (Word will indent the list and display the next bullet or number.)
- Optional: Enter additional lines of text.
- When you are finished, press the Enter key twice to end the list.
- Ribbon Commands
- Place your cursor where you want to start your list.
- Select Bullets or Numbers in the Paragraph group under the Home tab on the Ribbon
Adding Bullets or Numbers to Existing Text
- Select the text you wish to make into a list.
- Select the Home tab
- In the Paragraph group, select one of the following options:
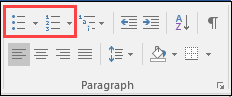
- To add bullets, click the Bullets button .
- To add numbers, click the Numbering button .
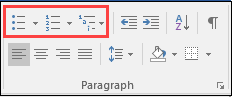
- To create a multilevel list, click the Multilevel List button and select a list style from the resulting menu.
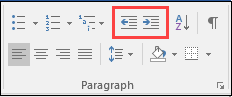
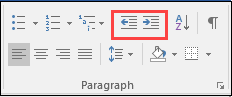
To demote a selected item, click the Increase Indent button in the Paragraph group, or press the Tab key
To promote a selected item, click the Decrease Indent button in the Paragraph group, or press Shift + Tab.
Create Your Own Bullets
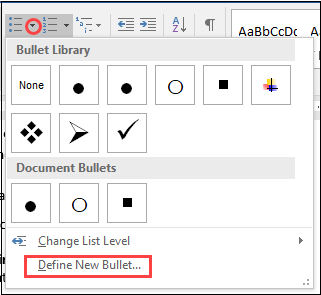
- Click the dropdown menu on the Bullets icon
- Select Define new bullet
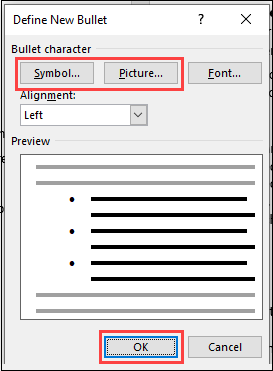
- Select Symbol or Picture button based on what you want to insert
- Select the image you want as your Bullet from your files; a new Bullet option will be created

Interrupting auto sequence
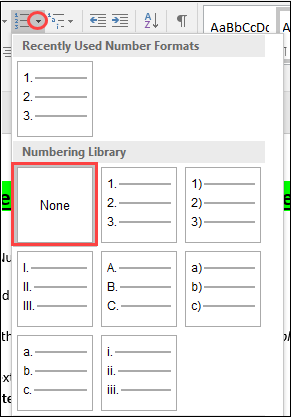
- Highlight the area in the document where you want the numbering to be removed
- Click the dropdown for Numbering in the Paragraph group; select None
Note - To remove a single bullet/number, click bullet and press backspace.
Renumber or continue numbering
- Highlight area of document to be renumbered
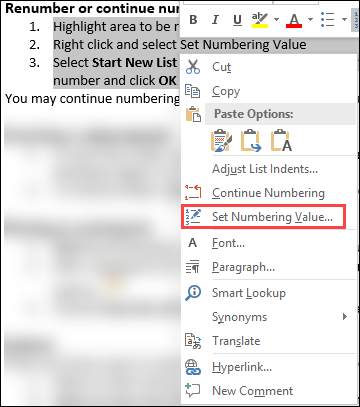
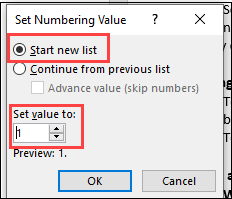
- Right click and select Set Numbering Value
- Select Start New List; in “Set value to”, enter desired number and click OK
Note: Continue numbering by selecting Continue from previous list.
Paste an existing list
Word automatically joins the pasted list with the current list.
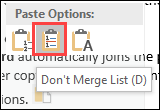
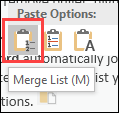
- After copying the list you want to insert, put the cursor where you want to insert the list and select Paste
- Choose Don't Merge list to keep separate, otherwise choose Merge List.
Indents
There are three ways to change the indents for a bulleted or a numbered list:
- Select the item and press SHIFT+TAB or TAB key
- Select the item and click the Decrease Indent or Increase Indent from the Home Tab, Paragraph group
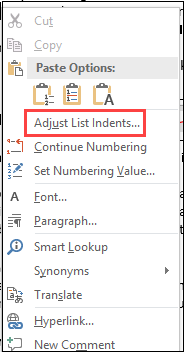
- To change amount of indent, right click the list and click Adjust List Indents
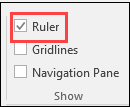
Show Ruler
- Go to View tab; in Show group, select Ruler
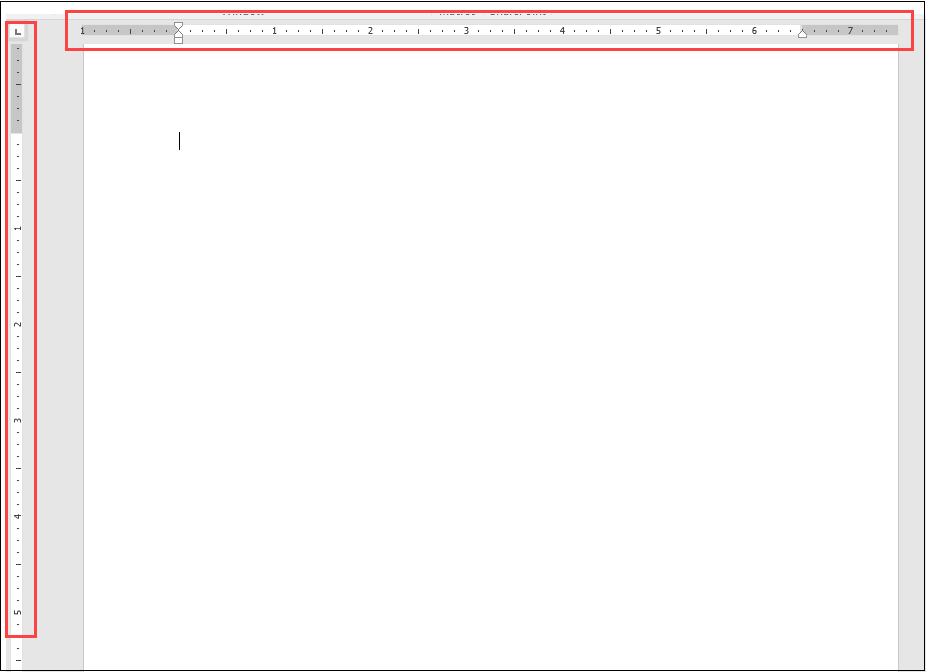
- Horizontal and vertical Ruler will display at top and left of document
Identifying indents on Ruler
- First-line indent marker, showing the indent position or the bullet or number
- Indent marker, showing the indent position of text in the list

To change the position of bullets/numbers, drag Marker 1
To change position of text, drag pointed top part of Marker 2
To move the indents simultaneously, keeping the relationship, drag the rectangular part on the bottom of Marker 2
Showing Formatting
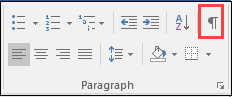
To display formatting in a Word document (which may cause problems in organizing content if unknown) click the “paragraph” symbol in the Paragraph Group under the Home tab
Removing Formatting
- Select the text from which you want to remove formatting
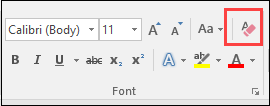
- On the Home tab, in the Font group, select the Clear Formatting button