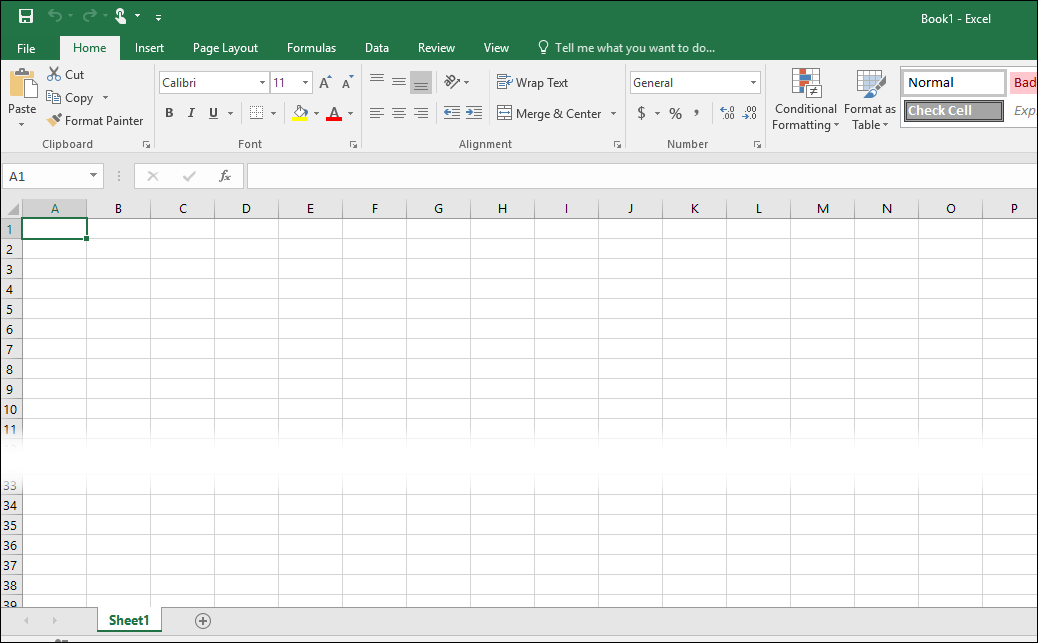
Microsoft Excel is a valuable tool in organizing and analyzing information. The basic structure of the application consists of a Workbook comprised of individual Worksheets/Spreadsheets, represented by tabs at the bottom of the application. Worksheets/spreadsheets (the terms are used interchangeably) are comprised of Rows (numbered) and Columns (lettered) containing individual Cells where data is housed.
Editing Cells
Selecting Cells
- To select a single cell, click on the cell.
- To select a range of cells, click on the first cell in the range and drag the cursor over the range of cells, or click on the first cell, hold the Shift key and click on the last cell in the range.
- To select multiple nonadjacent cells, hold the Ctrl key and click on each cell you want to select.
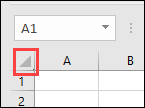
- To select all the cells in a worksheet, click the Select All button in the upper-left corner of the worksheet.
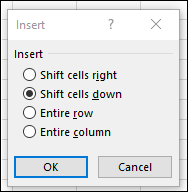
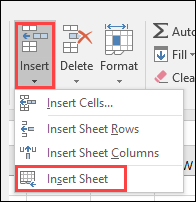
Inserting Cells
- Select the cell or range of cells where you want to insert the new blank cells.
- Under the Home tab, find the Cells group
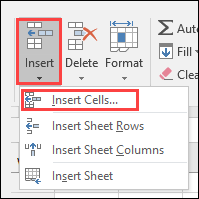
- Click the dropdown arrow on the Insert Cells button
- Select Insert Cells from the resulting menu
- Select the desired Shift Cells option and click OK
NOTE: Follow the same process to insert Rows, Columns, or an entire Sheet
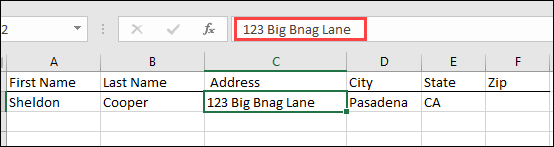
Editing a Cell
When you double-click a cell it goes into Edit mode. You can then make changes without overriding all the information currently in the cell. Alternatively, you can select a cell, then click in the Formula Bar to enter information.
Entering and Managing Data
Entering Data in a Range of Cells
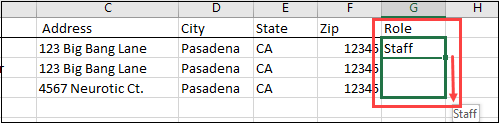
Copying Data
To copy data into a range of cells:
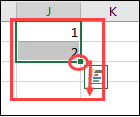
- Enter data into a cell
- Place cursor on the square at bottom right of active cell until it becomes a "+"
- Drag cursor down through desired range of cells to copy data into all cells
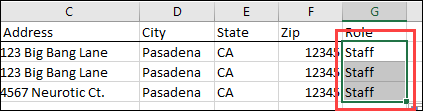
Data can be copied across columns as well as down rows
- Select a cell > place cursor at the bottom right-hand corner of the cell until a “+” appears
- Drag to the right over desired cells
Data Series
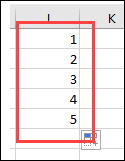
To continue a series:
- Enter the first two numbers in the series in consecutive cells
- Select the two cells; drag square at bottom right through range desired
Formatting Cells
- Dollar signs, percent signs, forward slashes, commas, or exponents in a cell will automatically invoke a specific number format to be applied to that cell
- Numbers longer than the cell width will appear in scientific notation automatically
- Dates entered in a cell will be converted to the date format that has been applied to the cell.
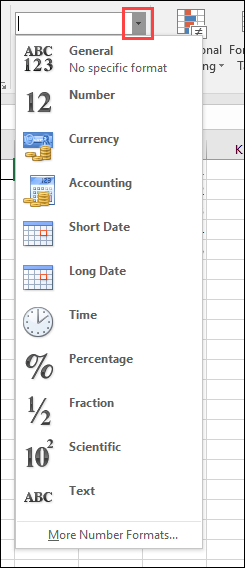
To format numbers a cell,
- Under the Home tab, click the dropdown arrow next to the Format box in the Numbers group
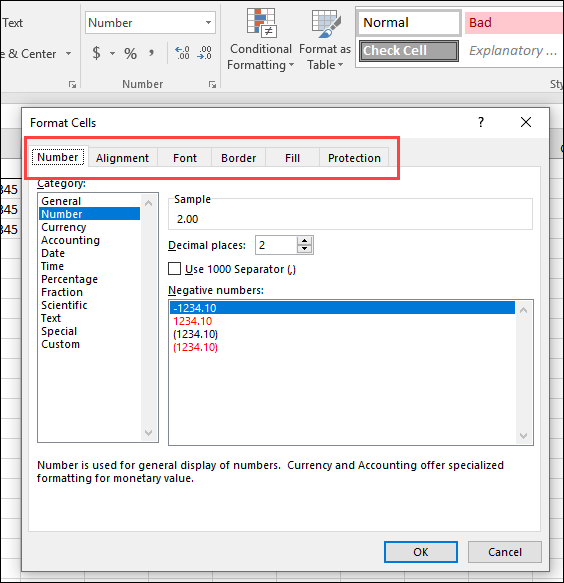
- Select the desired option from the list displayed, or click More Number Formats
- Set options as desired
Sorting & Filtering Data
Sort: Organizes data by desired characteristics.
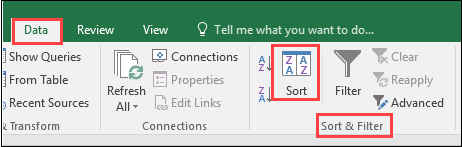
- Select the row or column to be sorted, navigate to the Data tab, Sort & Filter group, and select Sort.
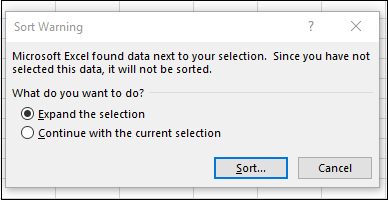
- If related data exists adjacent to your selection, a warning pop-up will appear; select appropriately.
Filter: Displays the rows that meet selected criteria and hides rows you do not want to display.
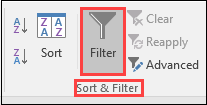
- Select the Data to filter
- Navigate to the Data tab, Sort & Filter group, and select Filter.
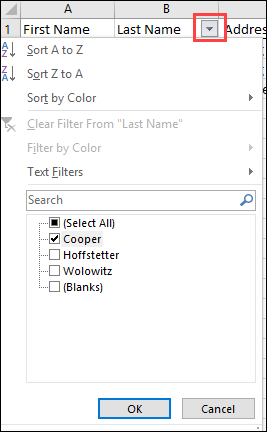
- A dropdown arrow appears in the Column header; click to select Filter
- Uncheck Select all, select the desired criteria and click OK to apply
NOTE: The same actions may be performed in the Editing group under the Home tab
Find & Replace Data
A helpful tool when you need to locate and/or replace a piece of data in your Worksheet, particularly if it appears in multiple locations.
Find
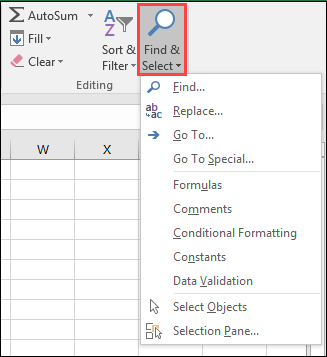
- Under the Home tab, click the Find & Select button in the Editing group
- Select Find
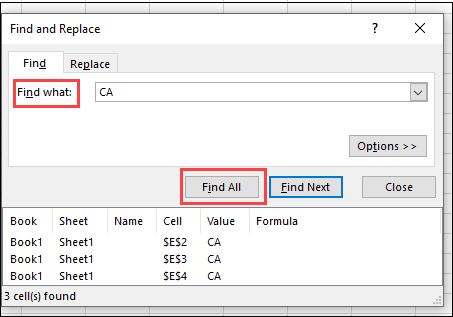
- In the Find dialog box enter the text you want to find in the Find What field and select Find Next or Find All
- Results display at the bottom of the dialog box
Replace
- Selecting Replace also opens the Find and Replace dialog box with the Replace tab selected
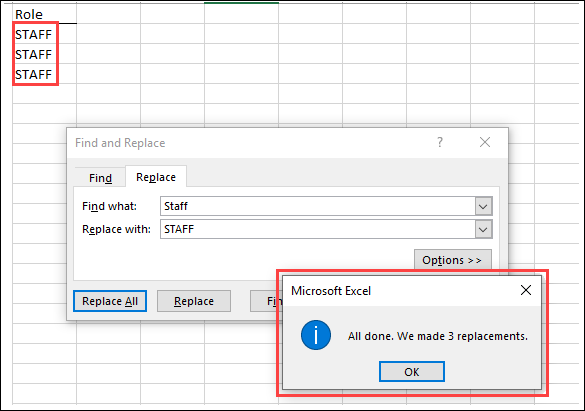
- Enter what you want to replace in the Find what box
- Enter what you want to replace it with in the Replace with box
- Select Replace or Replace All (Replace All replaces the data everywhere it appears in the Worksheet)
- Data is replaced and a confirmation popup appears
Rows & Columns
Inserting a Row or Column
- Select the row heading below or the column heading to the right of where you want a new row or column to be placed.
- Under the Home tab, in the Cells group, click the dropdown arrow on Insert Cells
- Select Insert Sheet Rows or Insert Sheet Columns from the resulting menu.
NOTE: If you have selected a Row, the Insert Sheet Columns option will not be active, and vice versa.

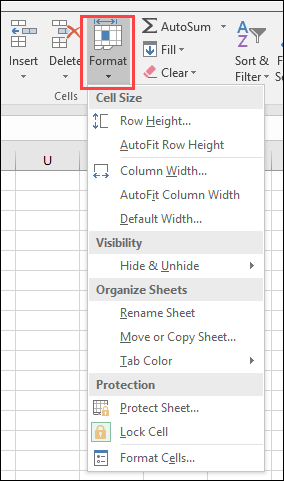
Adjusting Row Height or Column Width
- Select the row or column you want to adjust.
- Under the Home tab do any of the following:
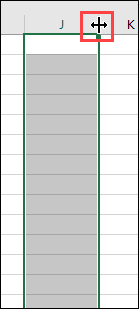
- To adjust height or width with the mouse, place the cursor over the boundary line of the row or column heading until it shows as a double-sided arrow. Click and drag the boundary to adjust the row or column.
- To adjust the height or width to fit cell data, click the Format button in the Cells group and select AutoFit Row Height or AutoFit Column Width from resulting menu.
- To change the default column width for a worksheet, click on the sheet tab for the worksheet. Click the Format button in the Cells group and select Default Width from the resulting menu. Enter a value in the Standard column width box and click the OK
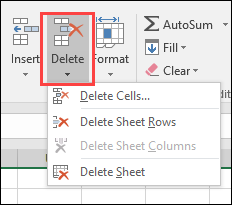
Deleting a Row or Column
- Select the row (s) or column(s) to be deleted
- Under the Home tab, click the dropdown arrow on the Delete Cells button in the Cells group and select Delete Sheet Rows or Delete Sheet Columns from the resulting menu.
NOTE: If you have selected a Row, the Delete Sheet Columns option will not be active, and vice versa.
Managing Multiple Worksheets
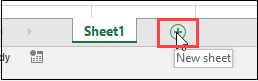
Inserting a Worksheet
- To insert a new Worksheet at the end of existing Worksheets, click the Insert Worksheet button (+) to the right of existing Worksheet tabs.
- To insert a new Worksheet before an existing Worksheet, click the dropdown arrow on the Insert button in the Cells group; select Insert Sheet from the resulting menu.
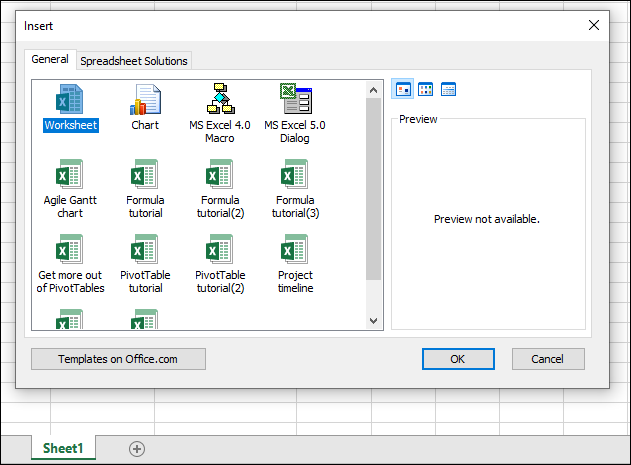
- To insert a new Worksheet based on a template, right-click a Worksheet tab and select Insert from the shortcut menu. Select the template you want to use and click the OK button
NOTE: Templates can be difficult to modify/customize to your specific needs.
Renaming a Worksheet
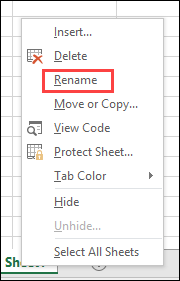
- Right click the Worksheet tab
- Select Rename from the shortcut menu.
- Enter a name for the Worksheet and press the Enter key.
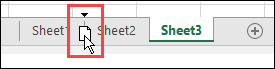
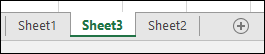
Moving a Worksheet
- Click the tab for the Worksheet you want to move.
- Drag tab to desired location in the Workbook
Copying a Worksheet
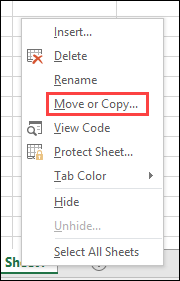
- Right click on Worksheet tab
- Select Move or Copy
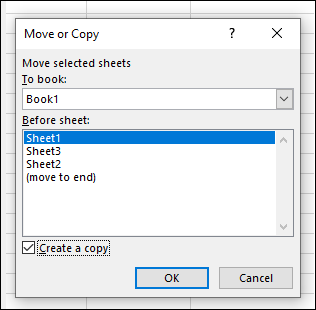
- Select copy destination
- Check box for Create a Copy
- Click OK
Deleting a Worksheet
- Select the Worksheet you want to delete.
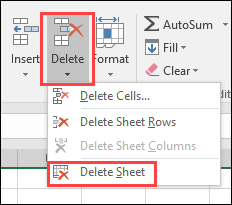
- Under the Home tab, click the dropdown arrow on the Delete button in the Cells group.
- Select Delete Sheet from the resulting menu.
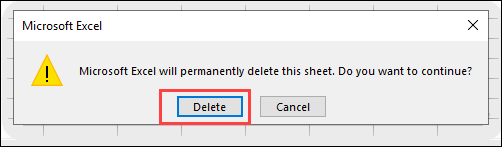
- If the Worksheet contains data, click the Delete button to confirm deletion.
Viewing a Worksheet
Freeze Panes
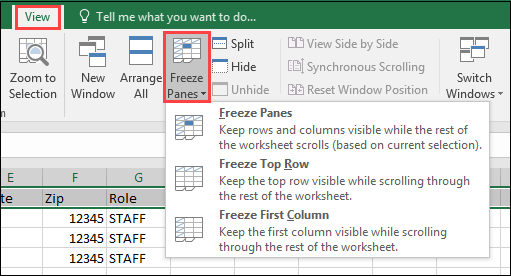
For easier viewing of large data sheets, you can “freeze” horizontal or vertical panes to keep Row and Column labels or other data visible as you scroll through the worksheet.
- Select the View tab
- Do one of the following:
- To freeze Rows, select the Row below where you want the split/freeze to appear.
- To freeze Columns, select the Column to the right of where you want the split/freeze to appear.
- To freeze both Rows and Columns, select the cell below and to the right of where you want the split/freeze to appear.
- Click the Freeze Panes button in the Window group
- Select Freeze Panes from the resulting menu
- To Freeze view without selecting a Row or Column, select Freeze Top Row or Freeze First Column from the options